Publish your first items
Create a configuration from your first spreadsheet, drop the file, read the review and publish: the whole first import, with what each screen shows and what lands on the site.
- WordPress
- Joomla
- 7 min read
- Updated October 13, 2026
This walks through the first import from start to finish. Before you start: a connected site and a spreadsheet (the example file 01-first-import.csv is ideal). The screens below are WordPress posts; Joomla works the same way with a few differences, noted where they matter.
1. Create the configuration#
A configuration remembers where your files go and how their columns map to the destination. You set it up once, with a sample file; afterwards you only drop in new files.
- On the Dashboard, select New configuration.
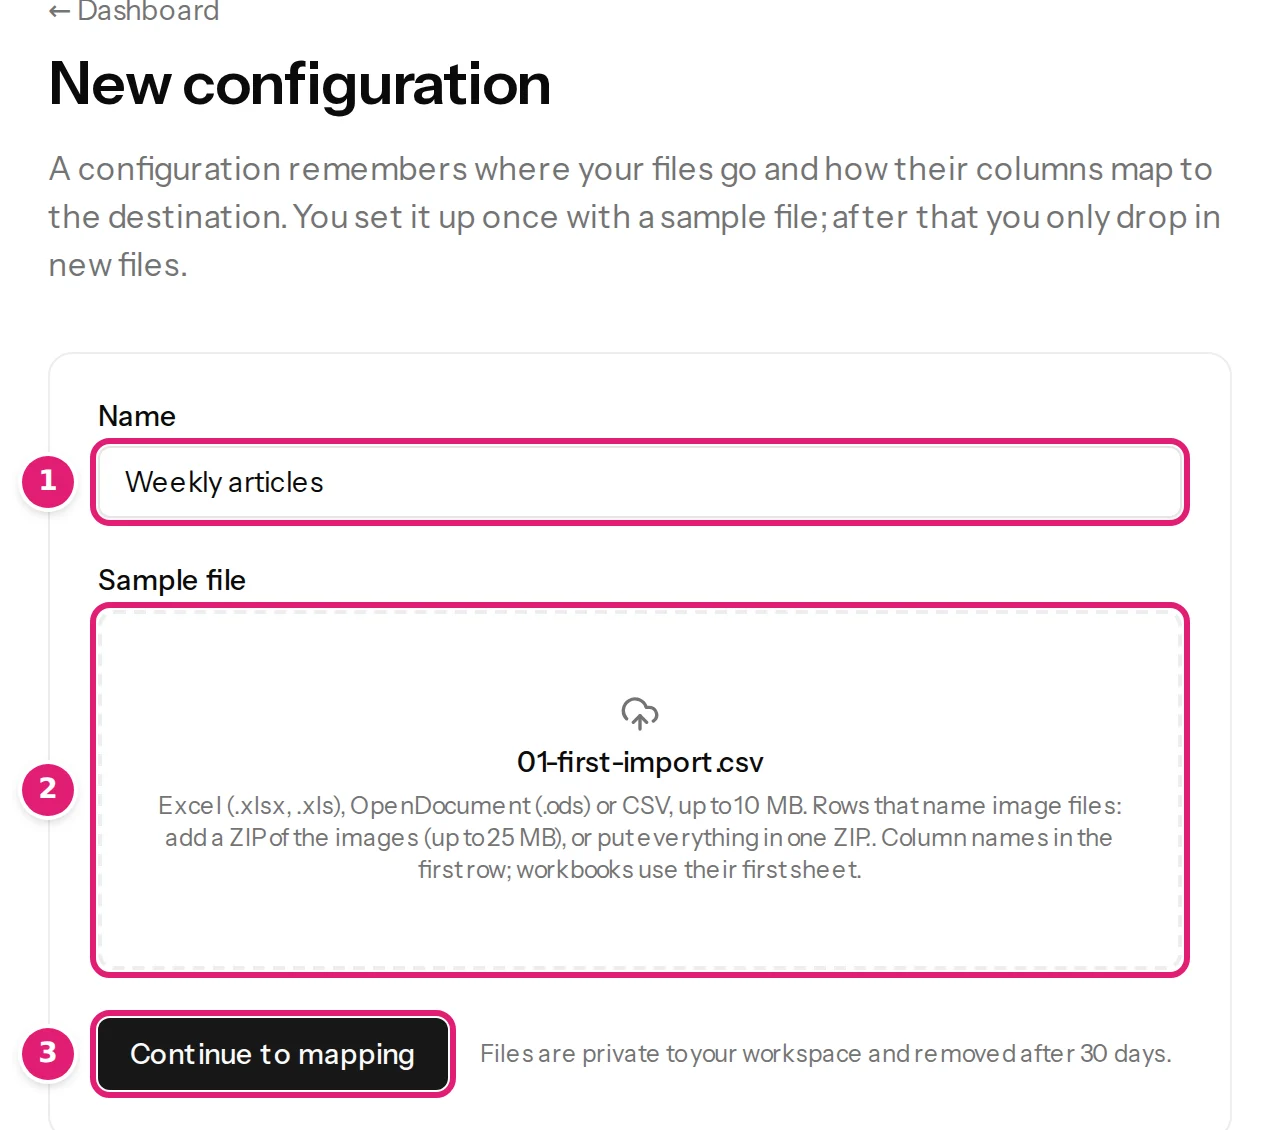
- Give it a Name (1), choose your Sample file (2) and select Continue to mapping (3). The name is for you: Weekly articles, Price list.
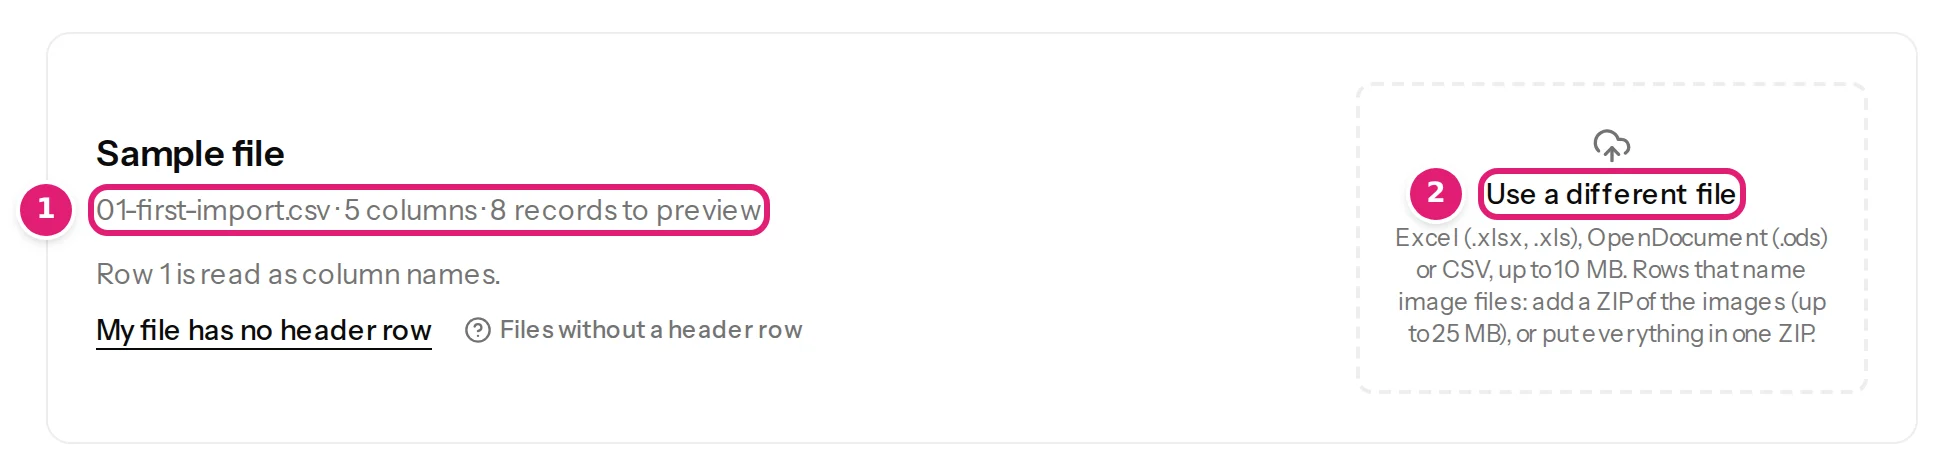
The editor opens while the file is read. It shows the sample file's name, its number of columns and its rows (5 columns · 8 records to preview).
2. Say where it goes and how the columns map#
-
Destination. Choose the Destination site (1) and the Content type (2): Posts for WordPress articles, Articles for Joomla. A site with only one writable type chooses it for you.
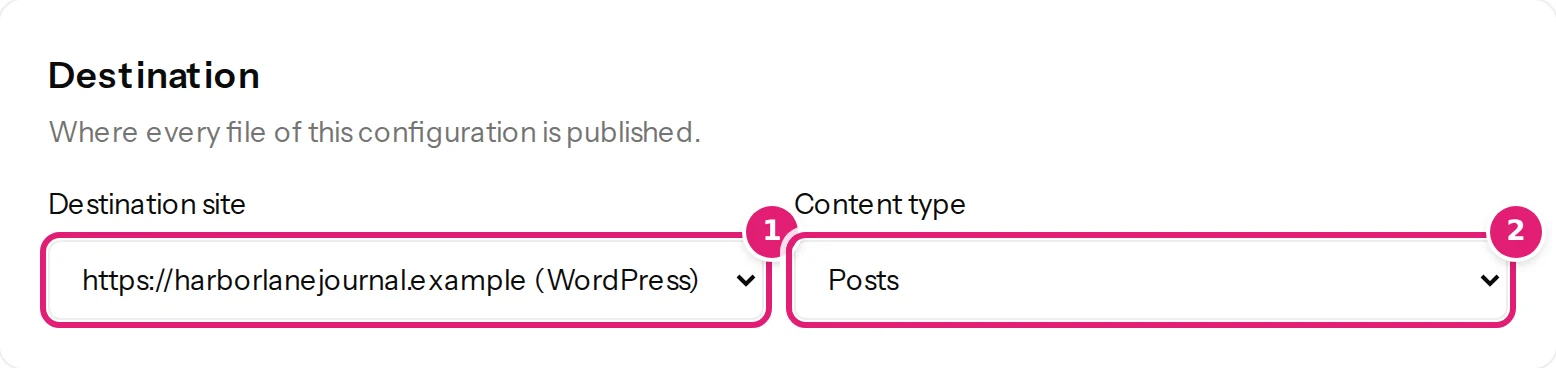
Where every file of this configuration is published. -
Record ID. Choose the column whose value stays the same for an item in every file. A column named
IDis suggested for you. This is what makes the next file update items instead of duplicating them (choosing the record ID).
The record ID column. Without one, items are matched by slug or title. -
Fields. Every field the site offers is listed with where its value comes from. Columns named like a field are chosen for you: here Title takes the Title column and Content the Body column. Fields without a matching column use the site's default or keep what is there.
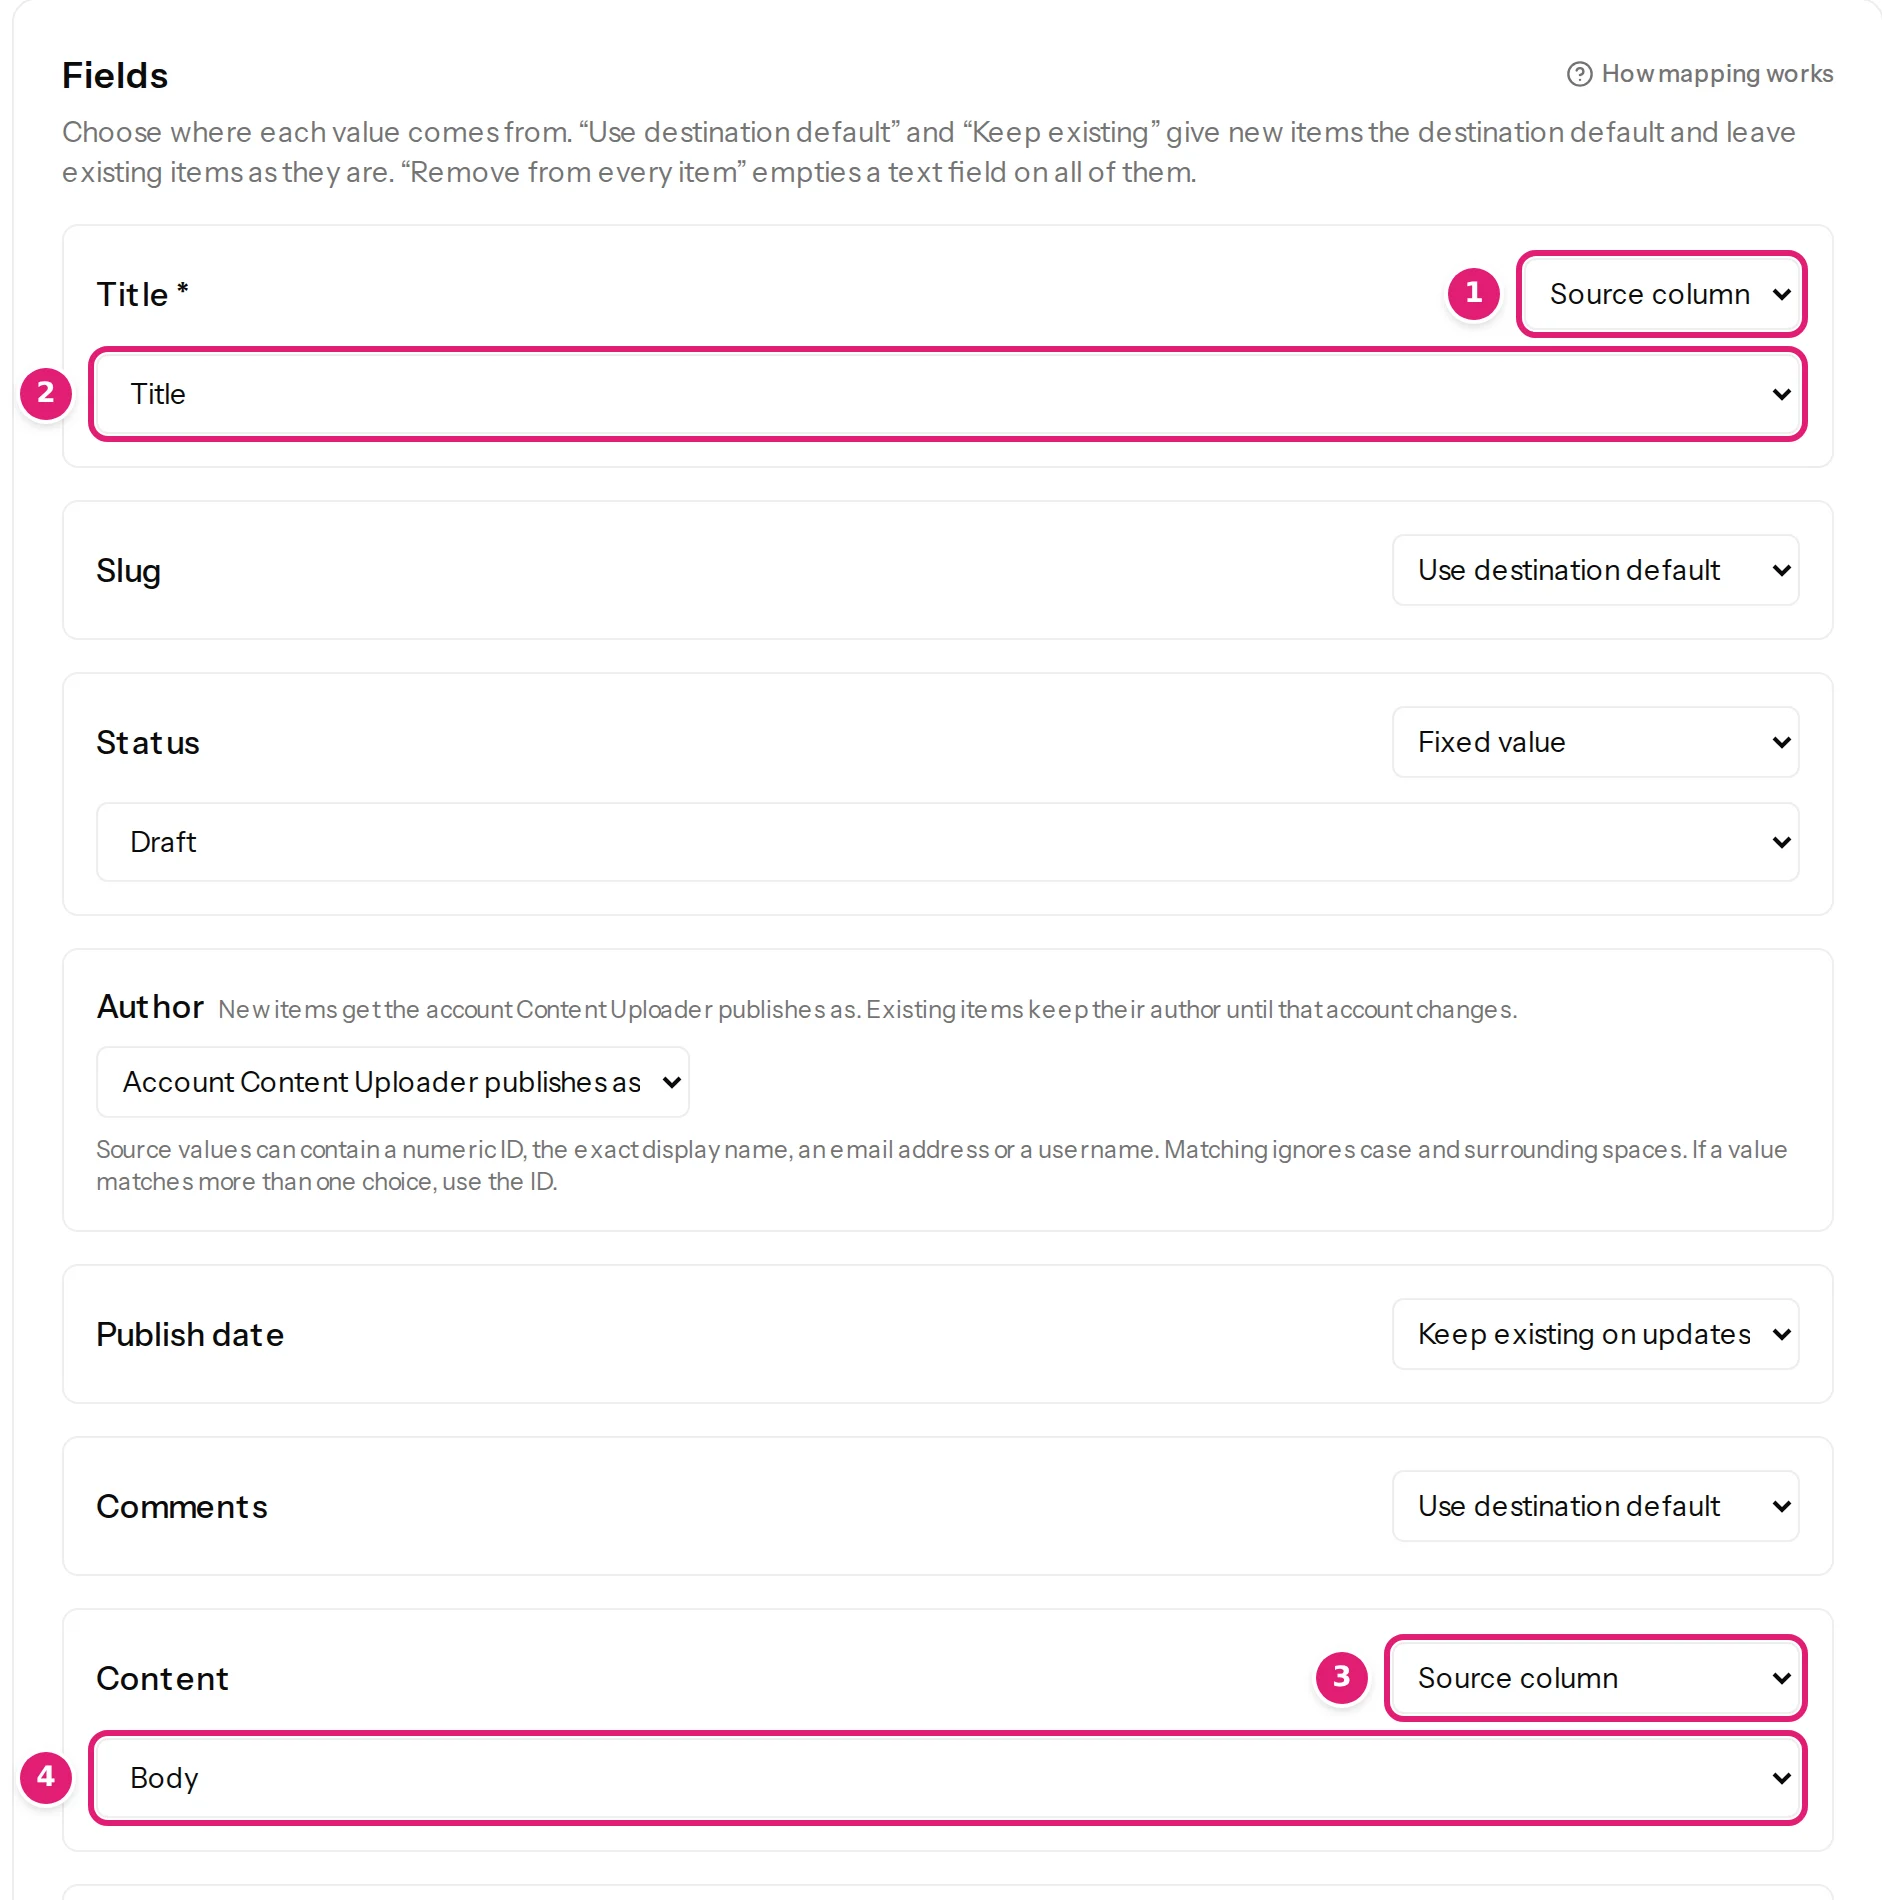
Title comes from the Title column and Content from the Body column. Other fields keep their defaults. -
Status. With no Status column, the editor sets Status to a fixed value that publishes nothing live: Draft in WordPress, Unpublished in Joomla. Your first items therefore appear as drafts you can read on the site before releasing them.

A fixed Draft. Change it to Published, or map a column, when you are ready. -
Categories and tags. Under Tags and categories, choose Replace with configured terms, then the column that holds each. Missing categories and tags are added to your site when you publish.
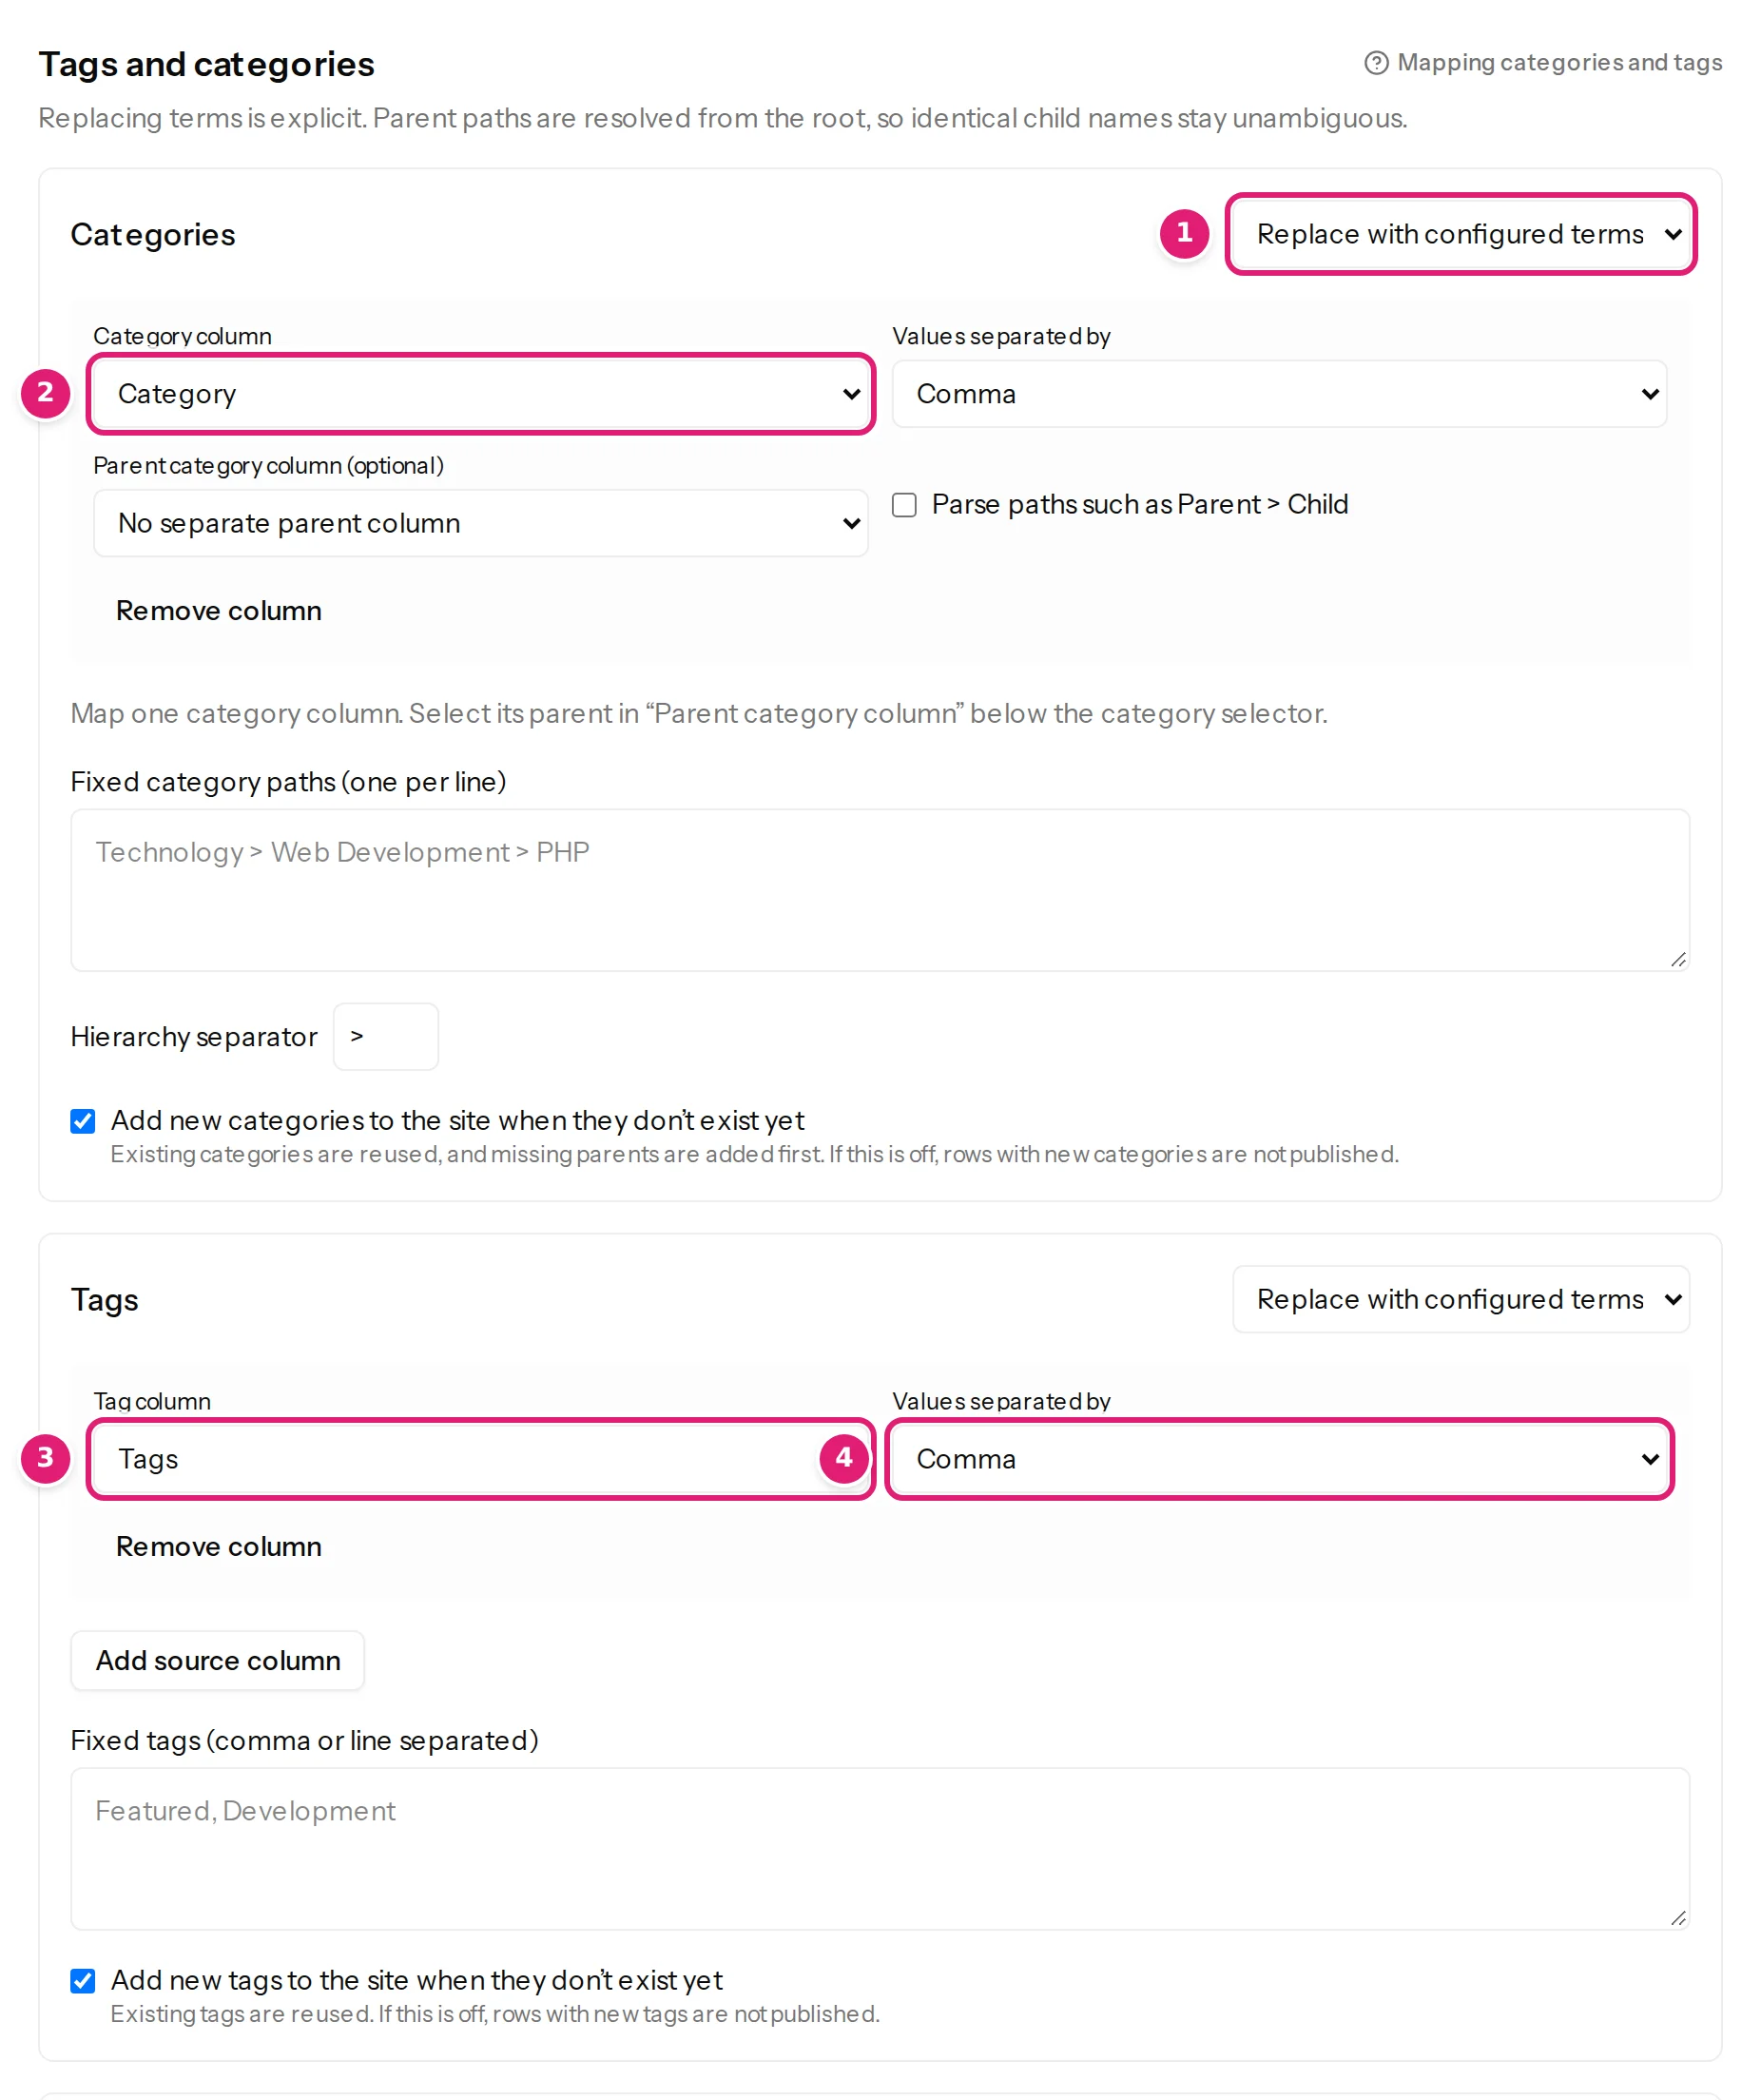
Category from the Category column, tags from the Tags column, split at commas. -
Preview. The panel on the right shows how a row will look when published. Pick any of the first 50 sample records; the preview updates as you change the mapping. Nothing is sent to your site while you preview.
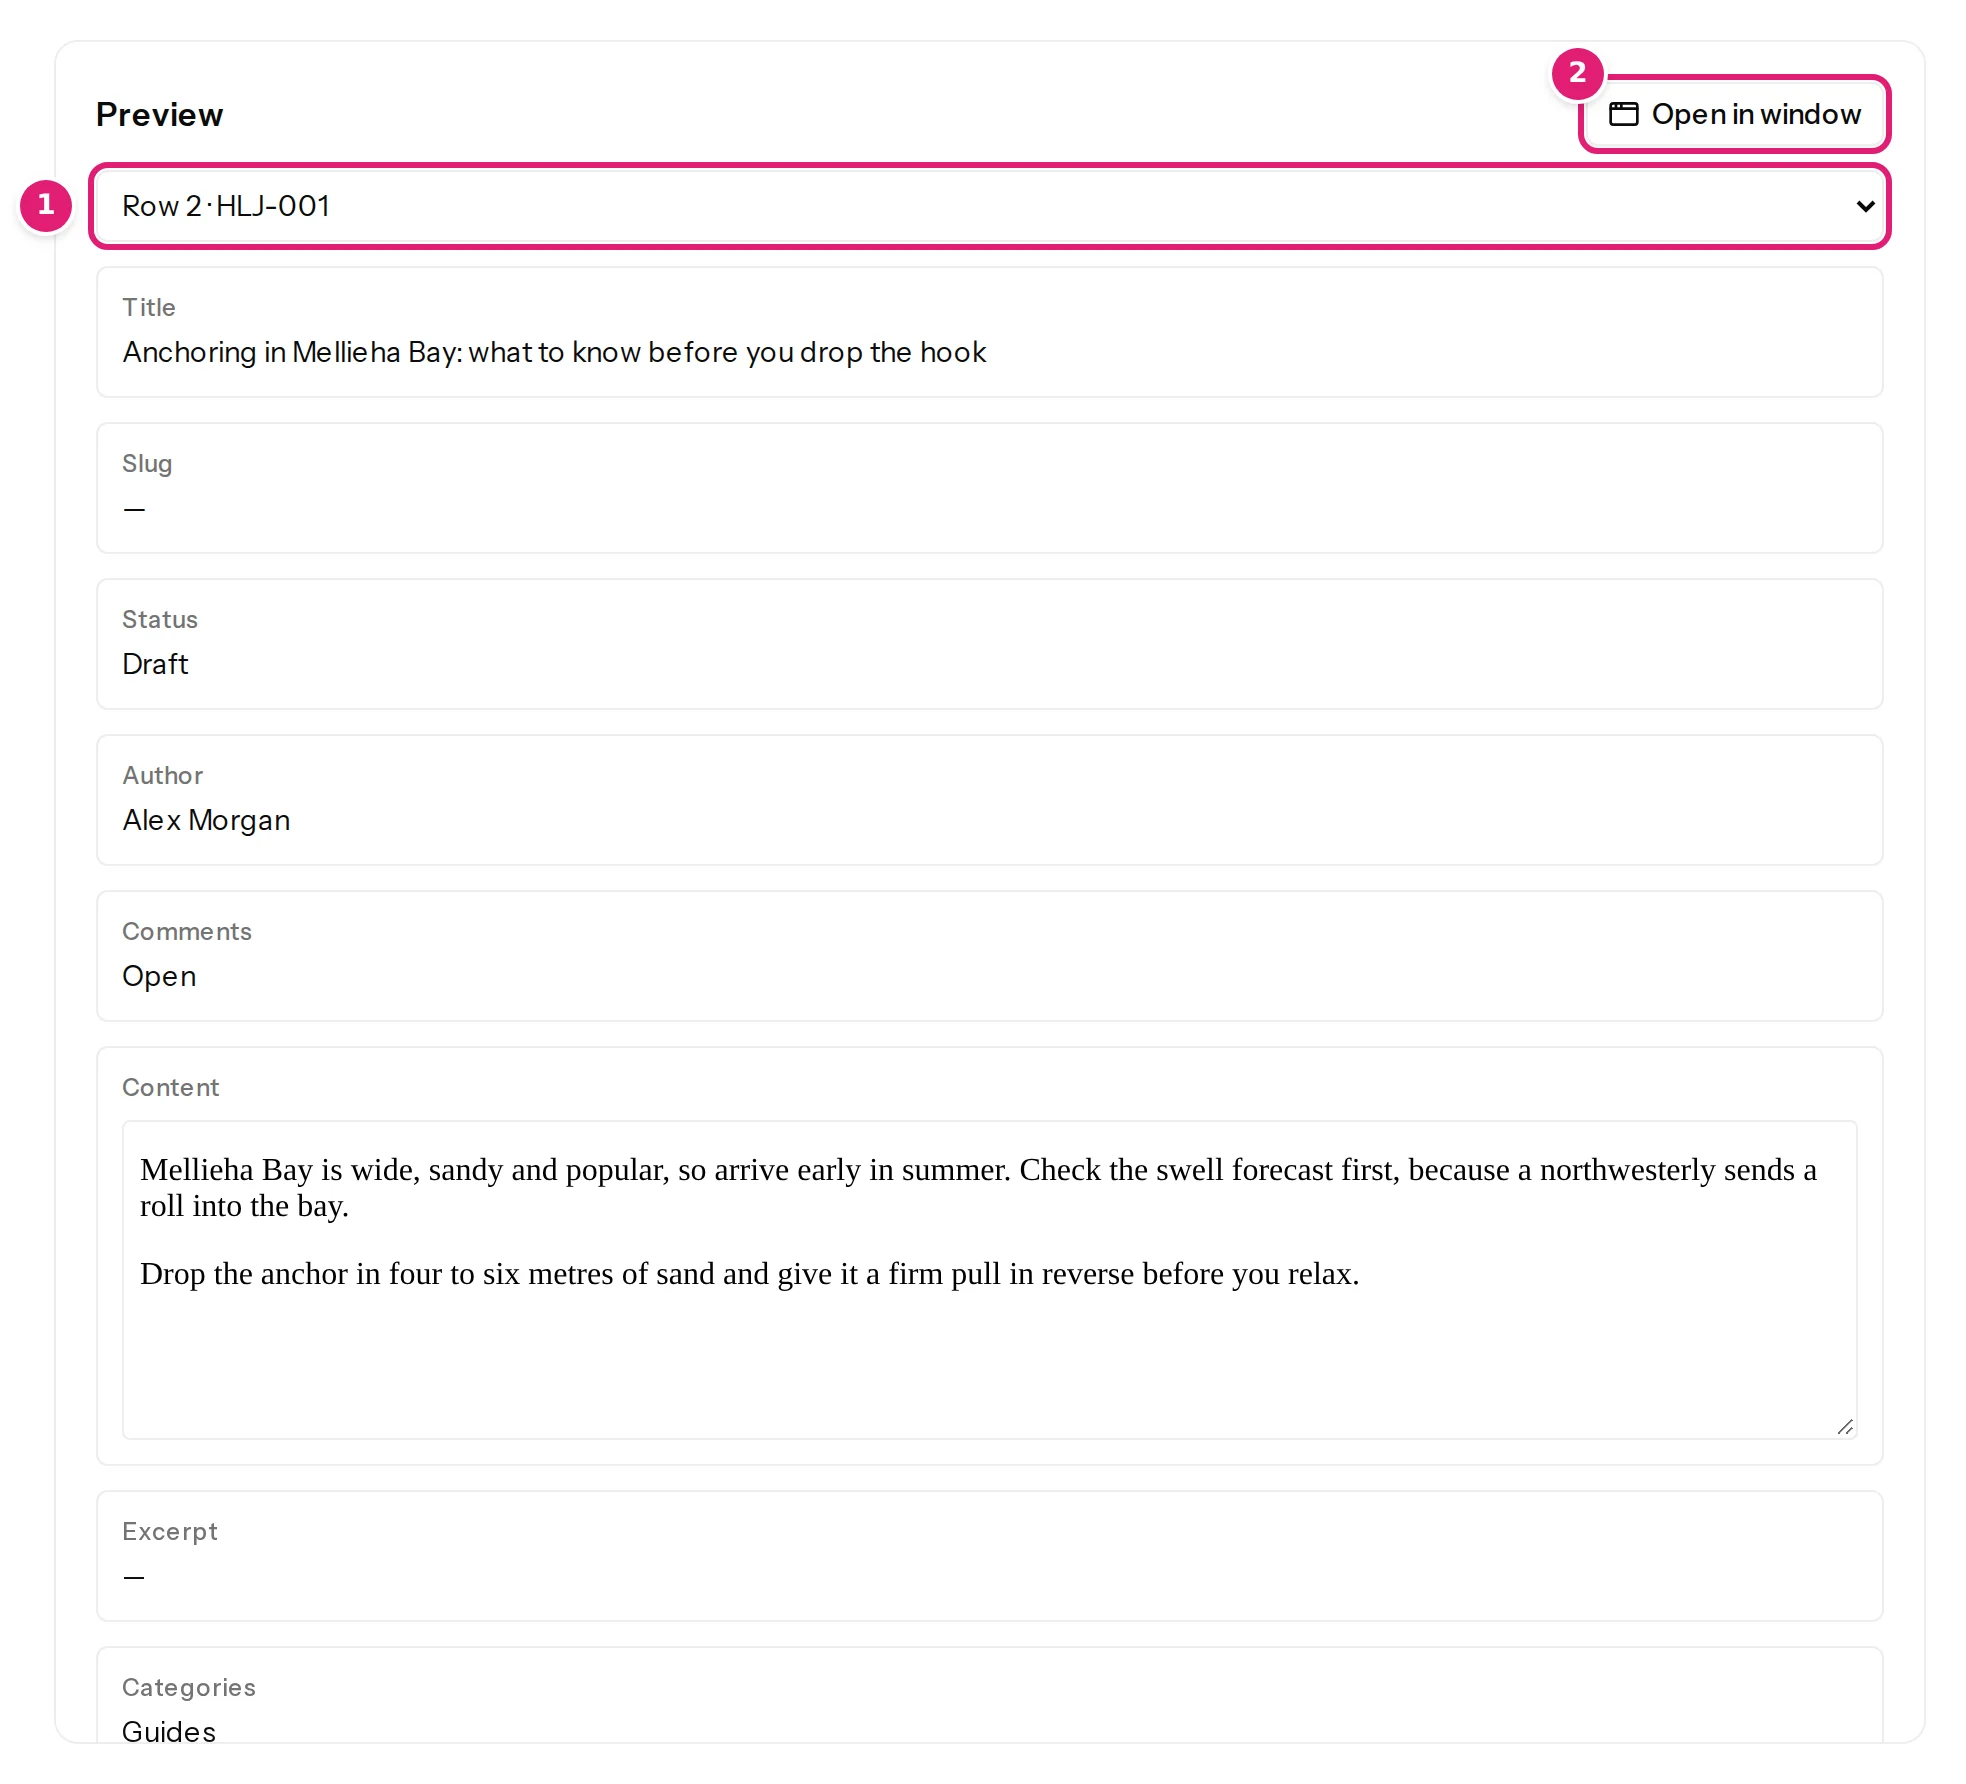
The preview resolves every field the way publishing will. -
When a new file is uploaded. Leave Let me review, then publish with one click. You see what will change before anything is published.
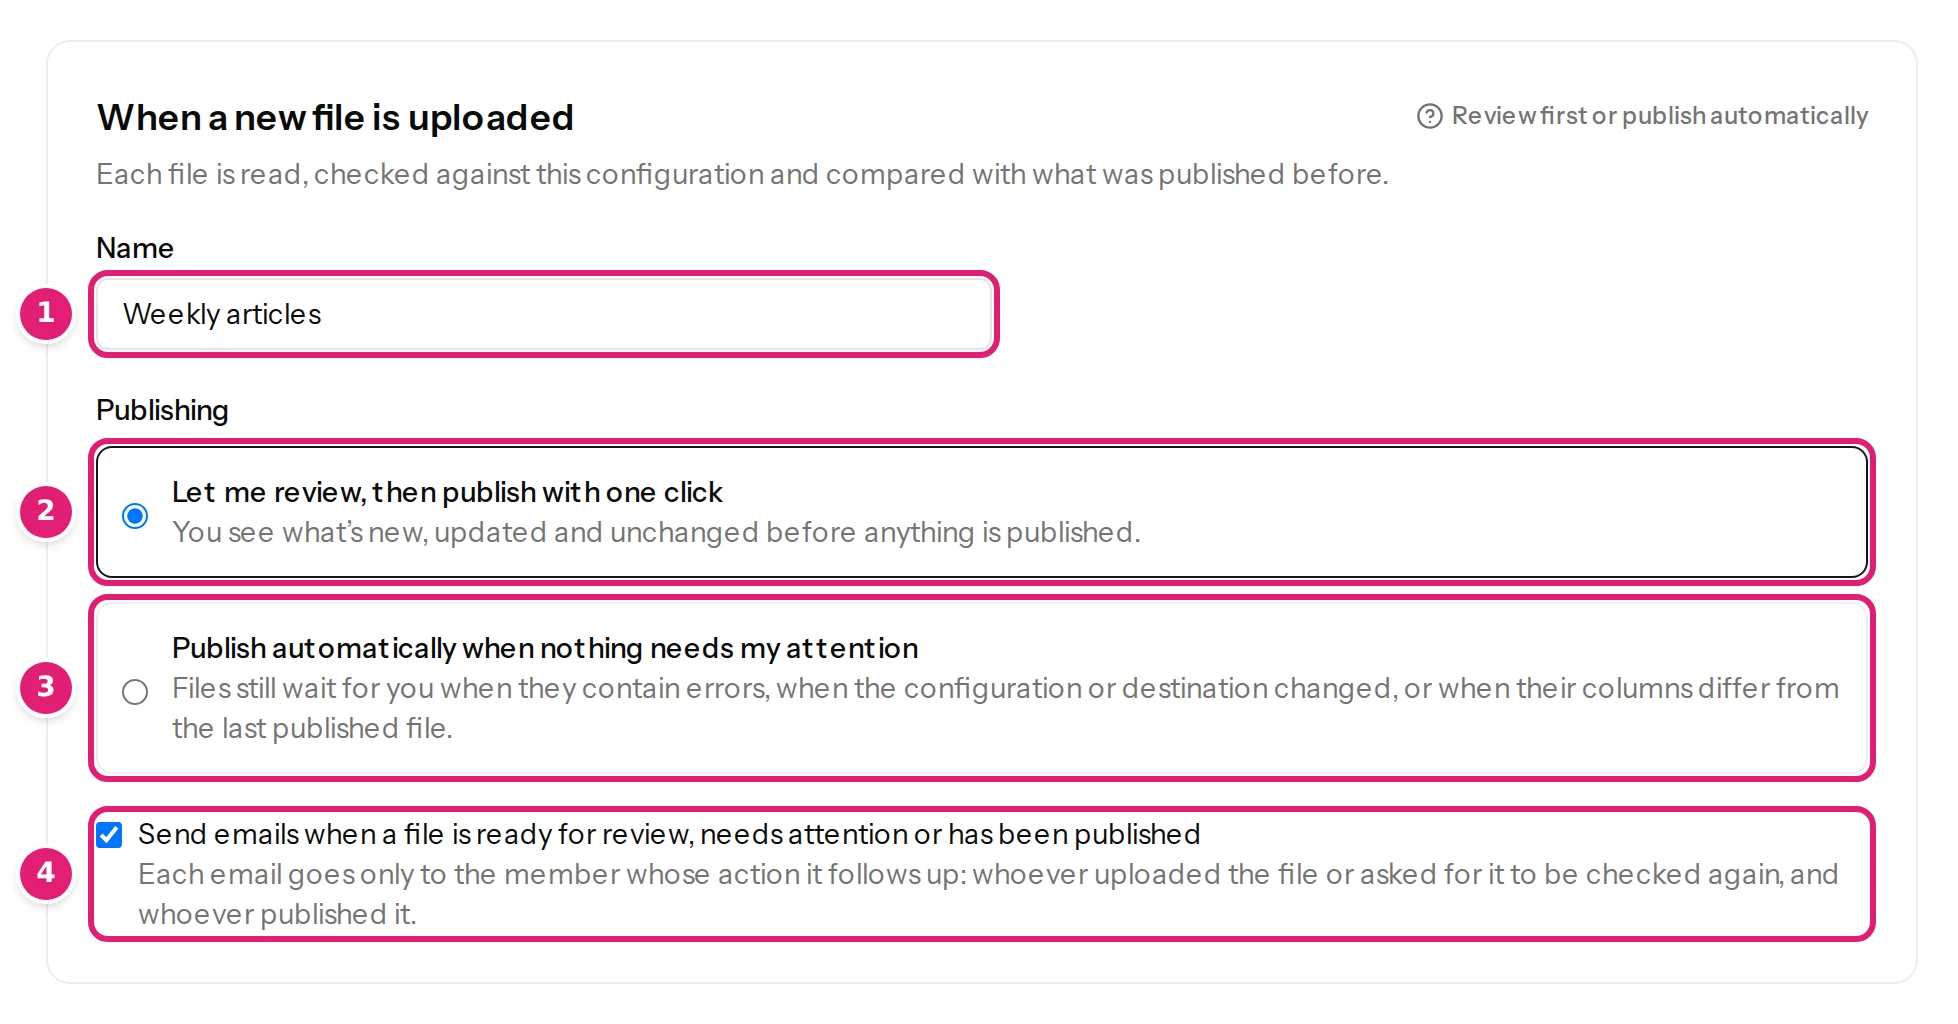
Review first: the default and the safest. -
Select Save configuration.

Saving checks the mapping against your site and the sample file.
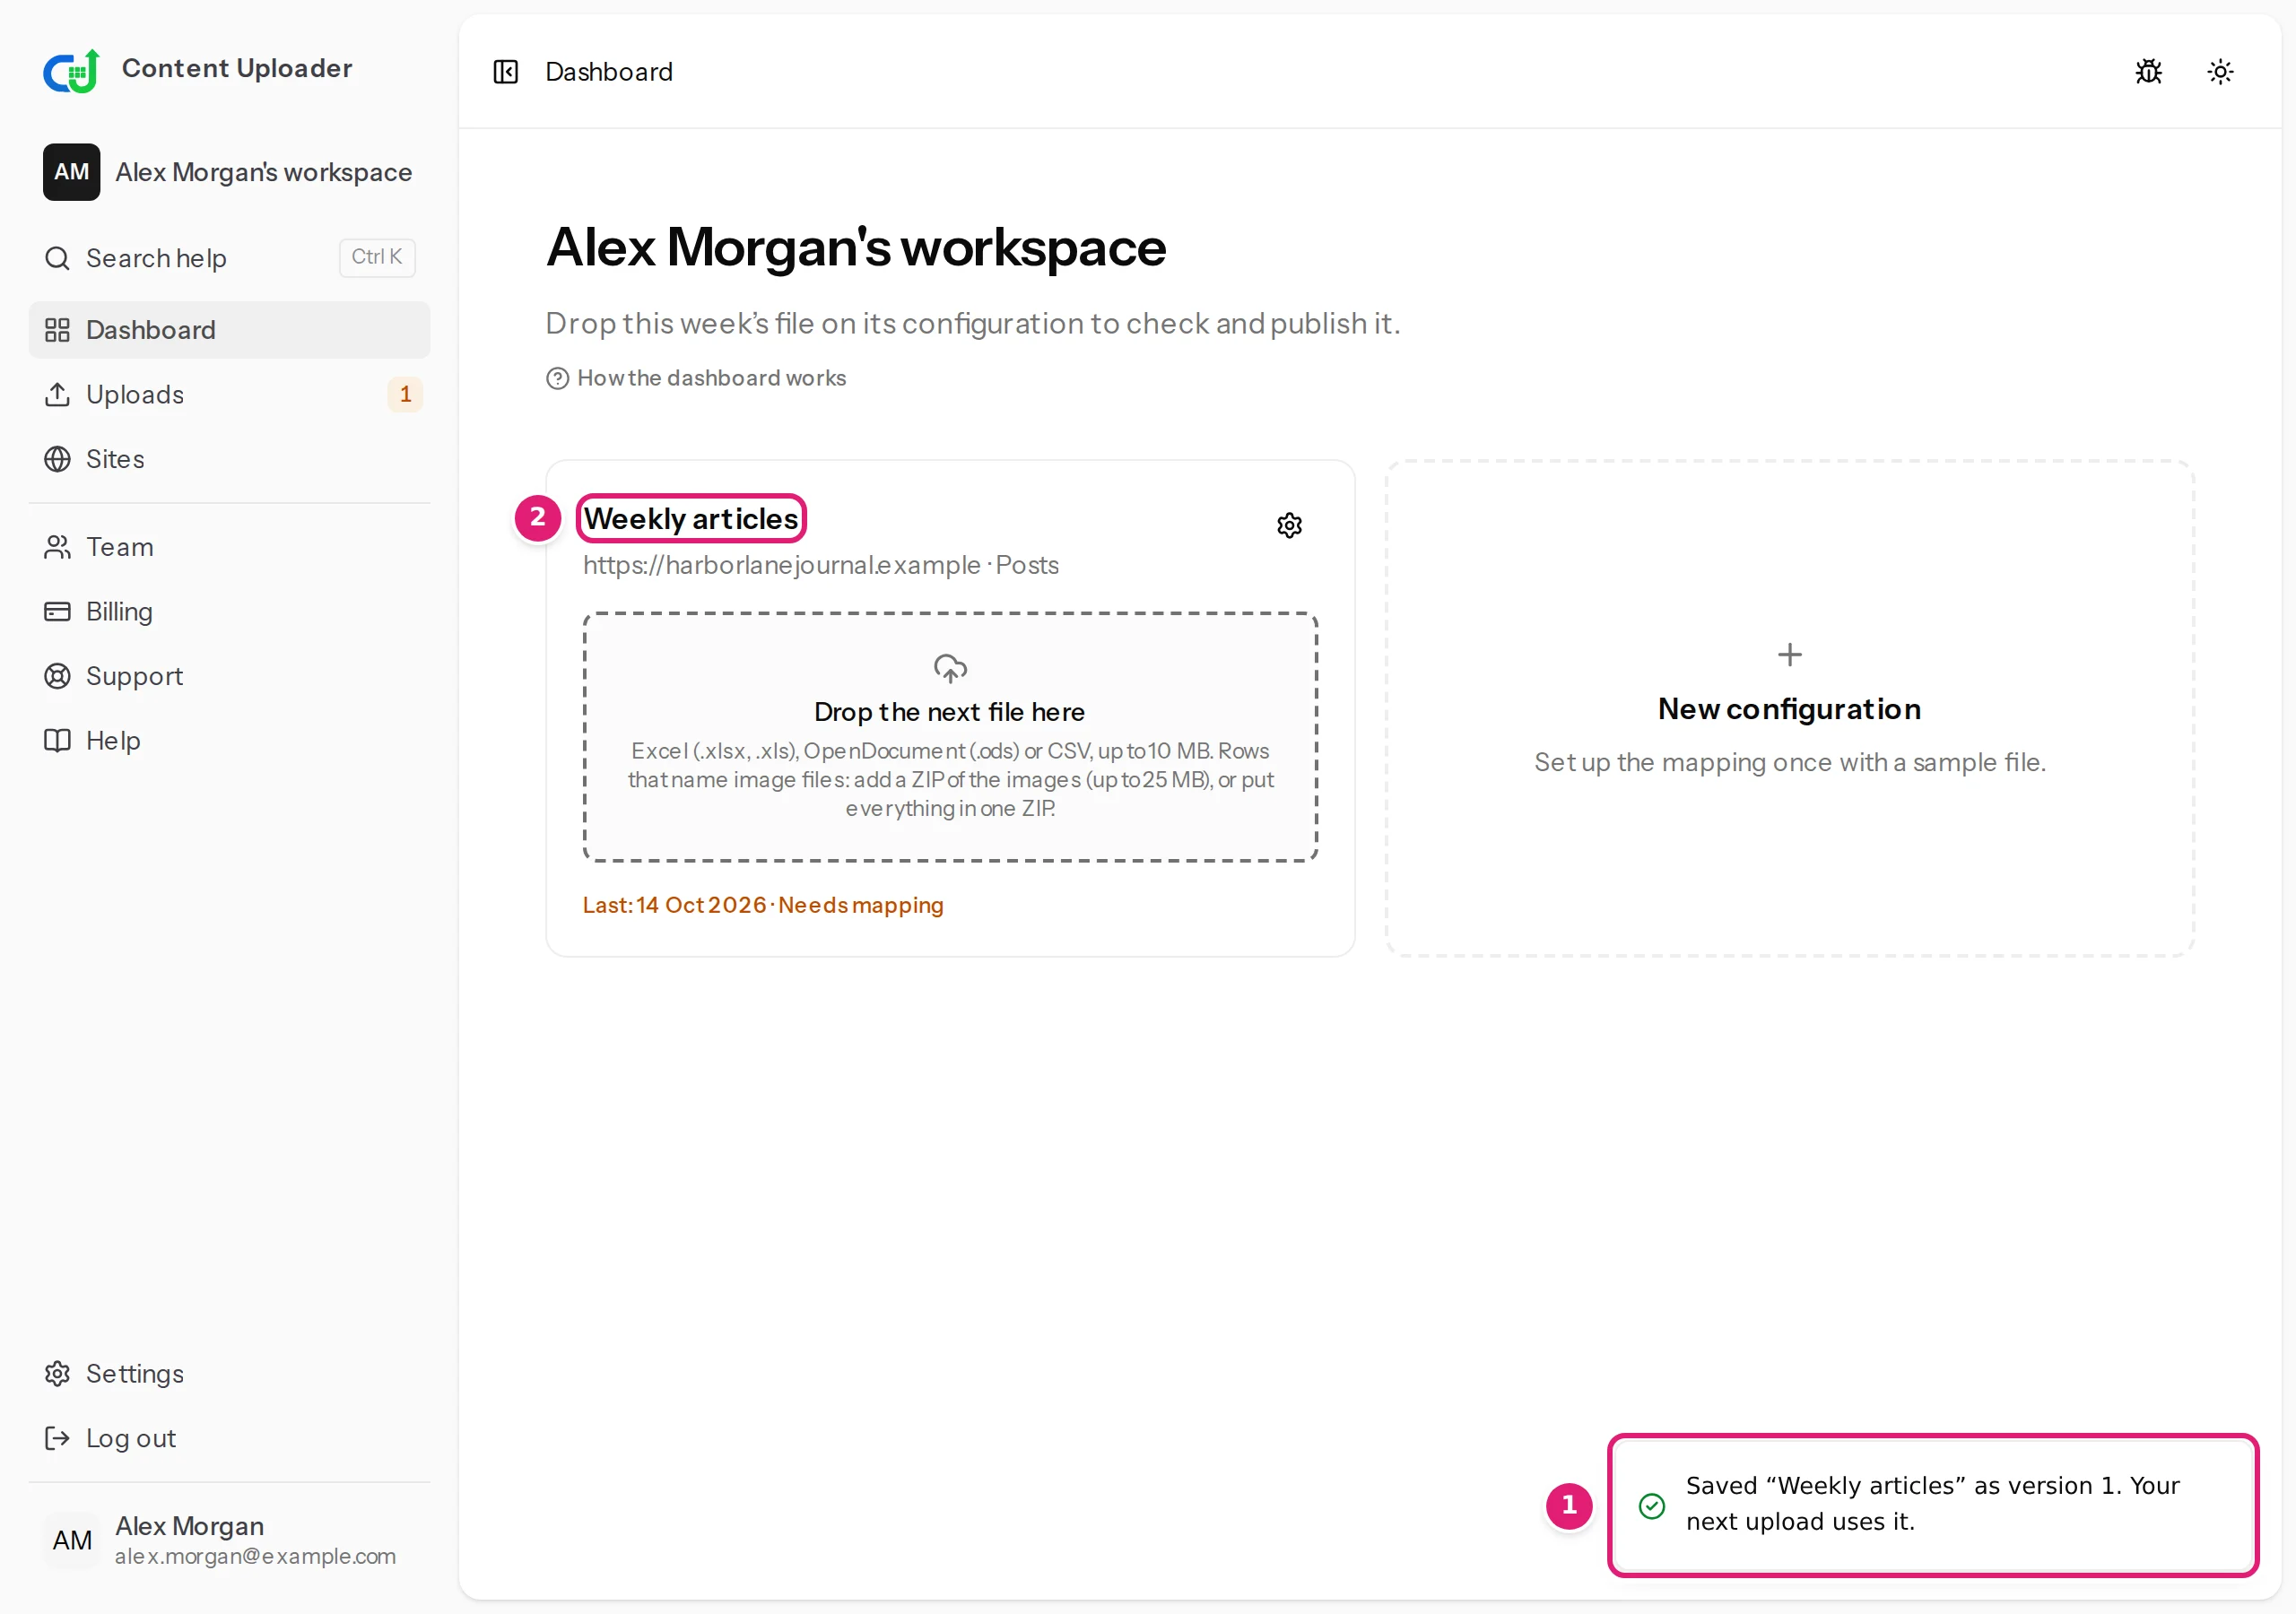
The dashboard shows a message, Saved "Weekly articles" as version 1. Your next upload uses it., and a card for the configuration.
3. Drop the file#
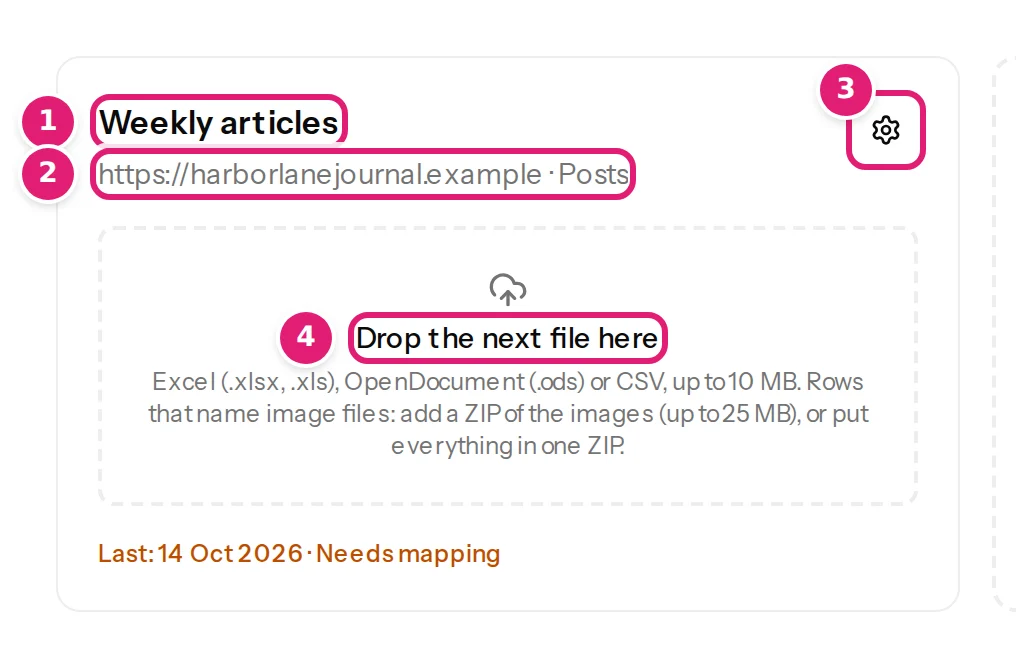
On the configuration's card, drop the file where it says Drop the next file here (or select it). That is the whole action.
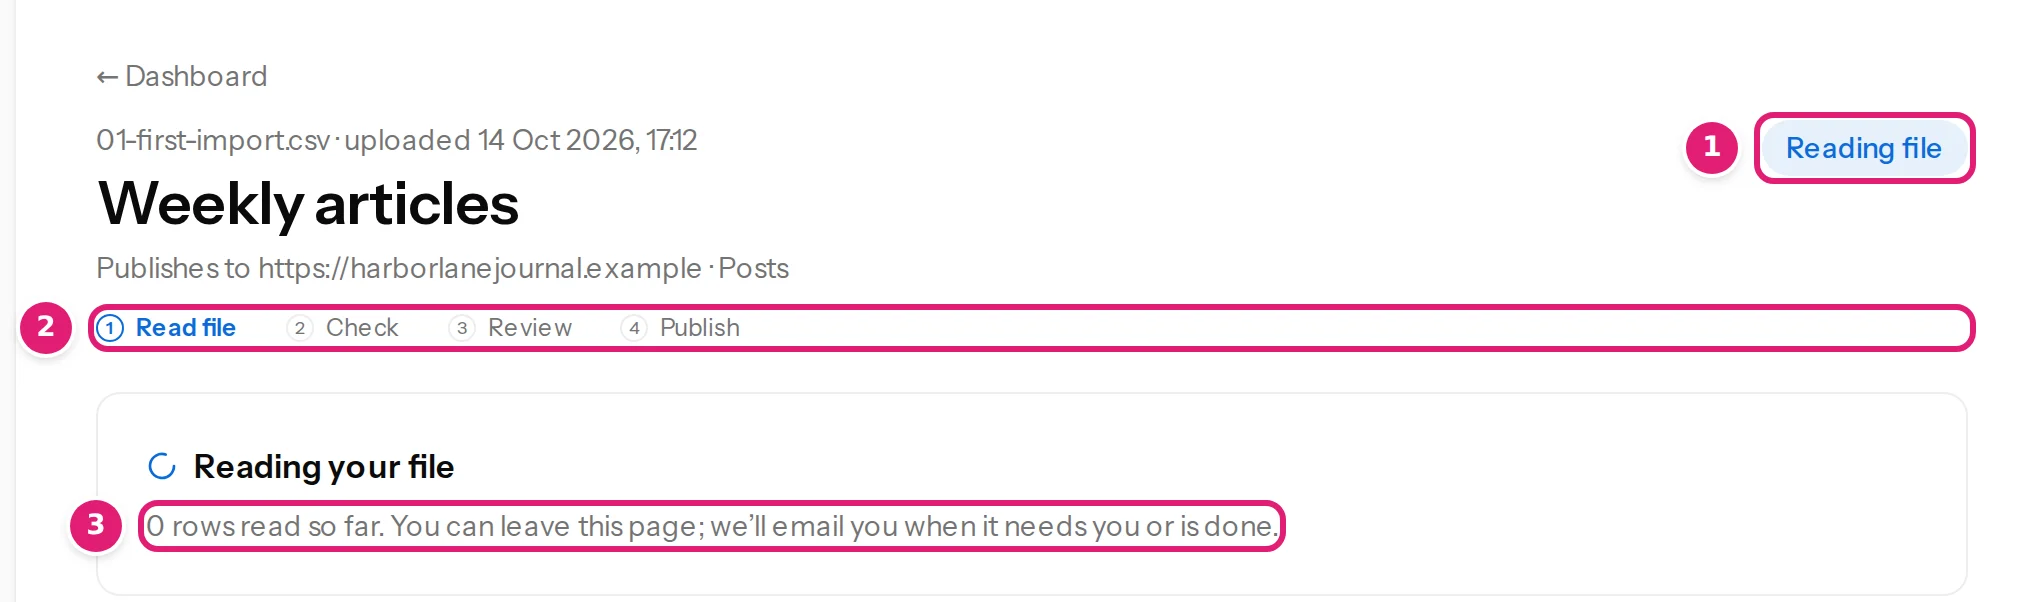
The page for the file opens at once and shows its progress: Reading your file, then Preparing content and Comparing with published content. You can leave the page; Content Uploader emails you when it needs you or is done (unless you switched emails off).
4. Read the review#
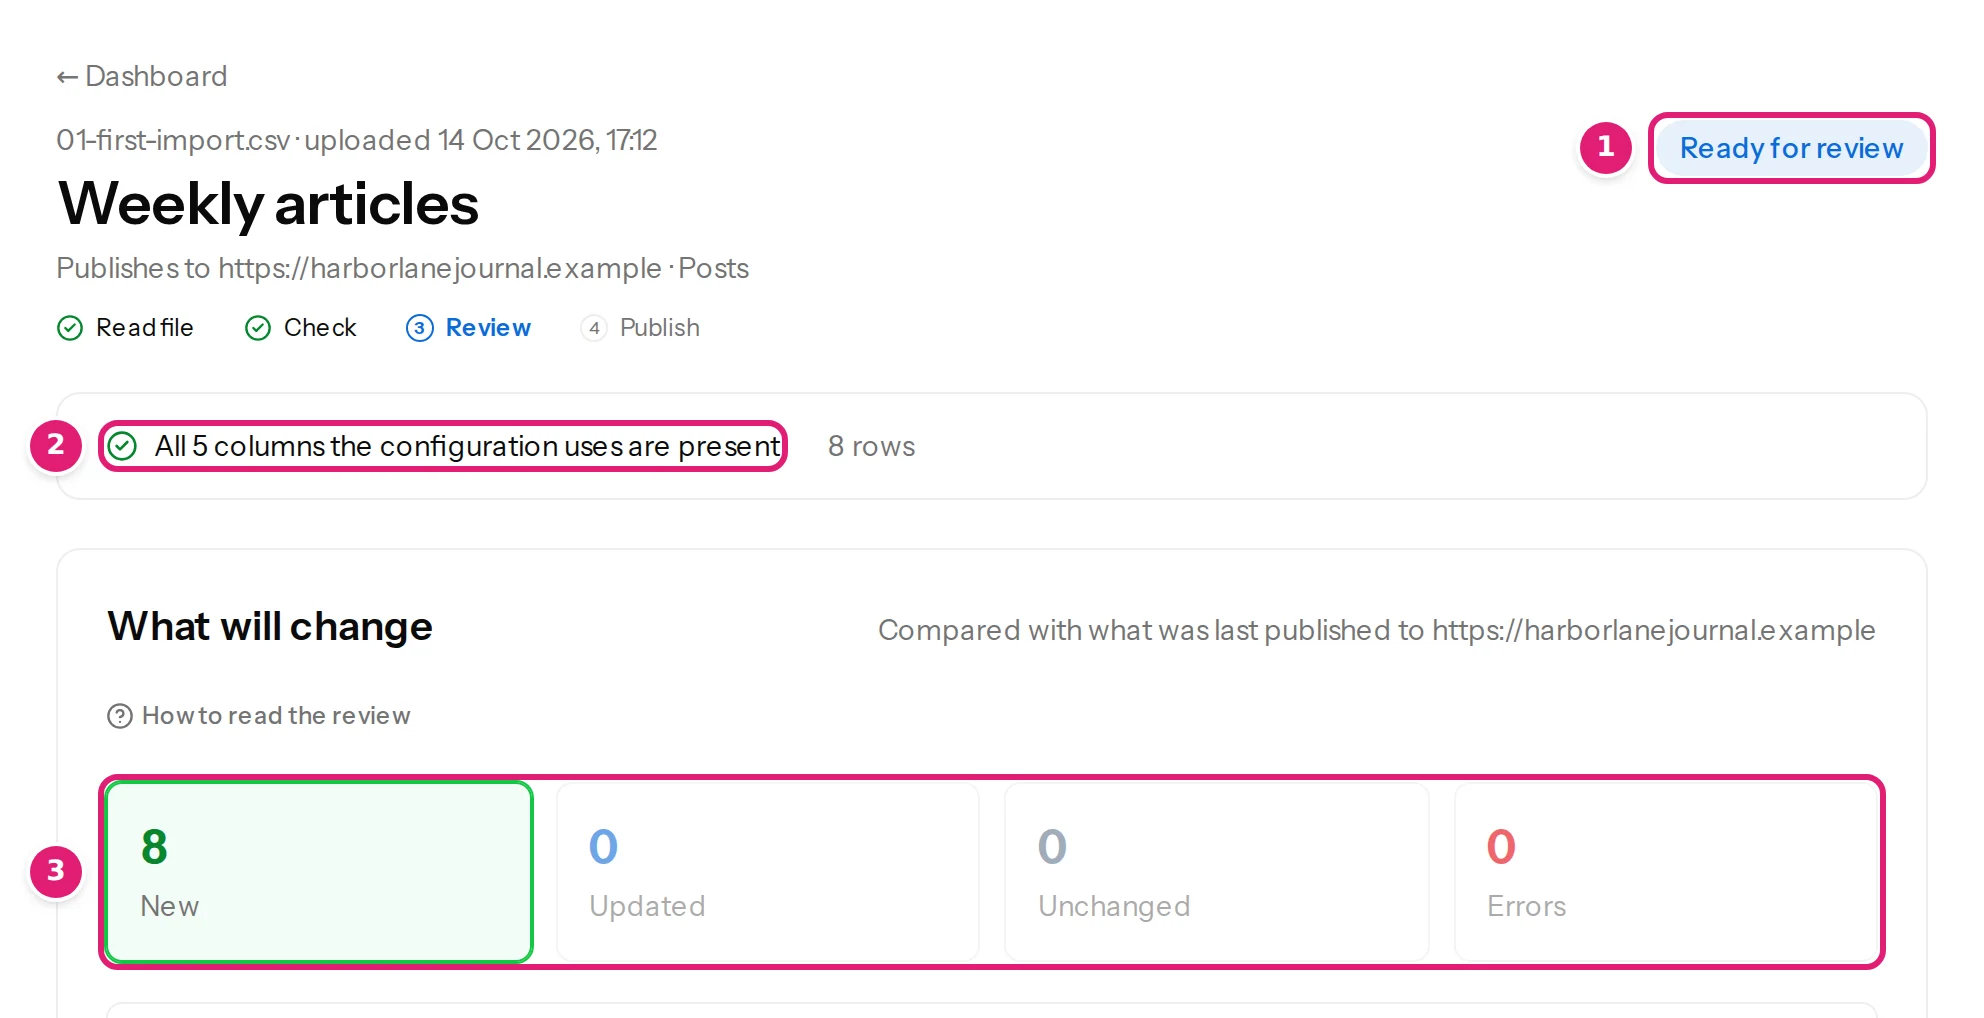
When the check is done, the page shows What will change. For the first file everything is New: eight items.
Open any item to see exactly what will be published, field by field:
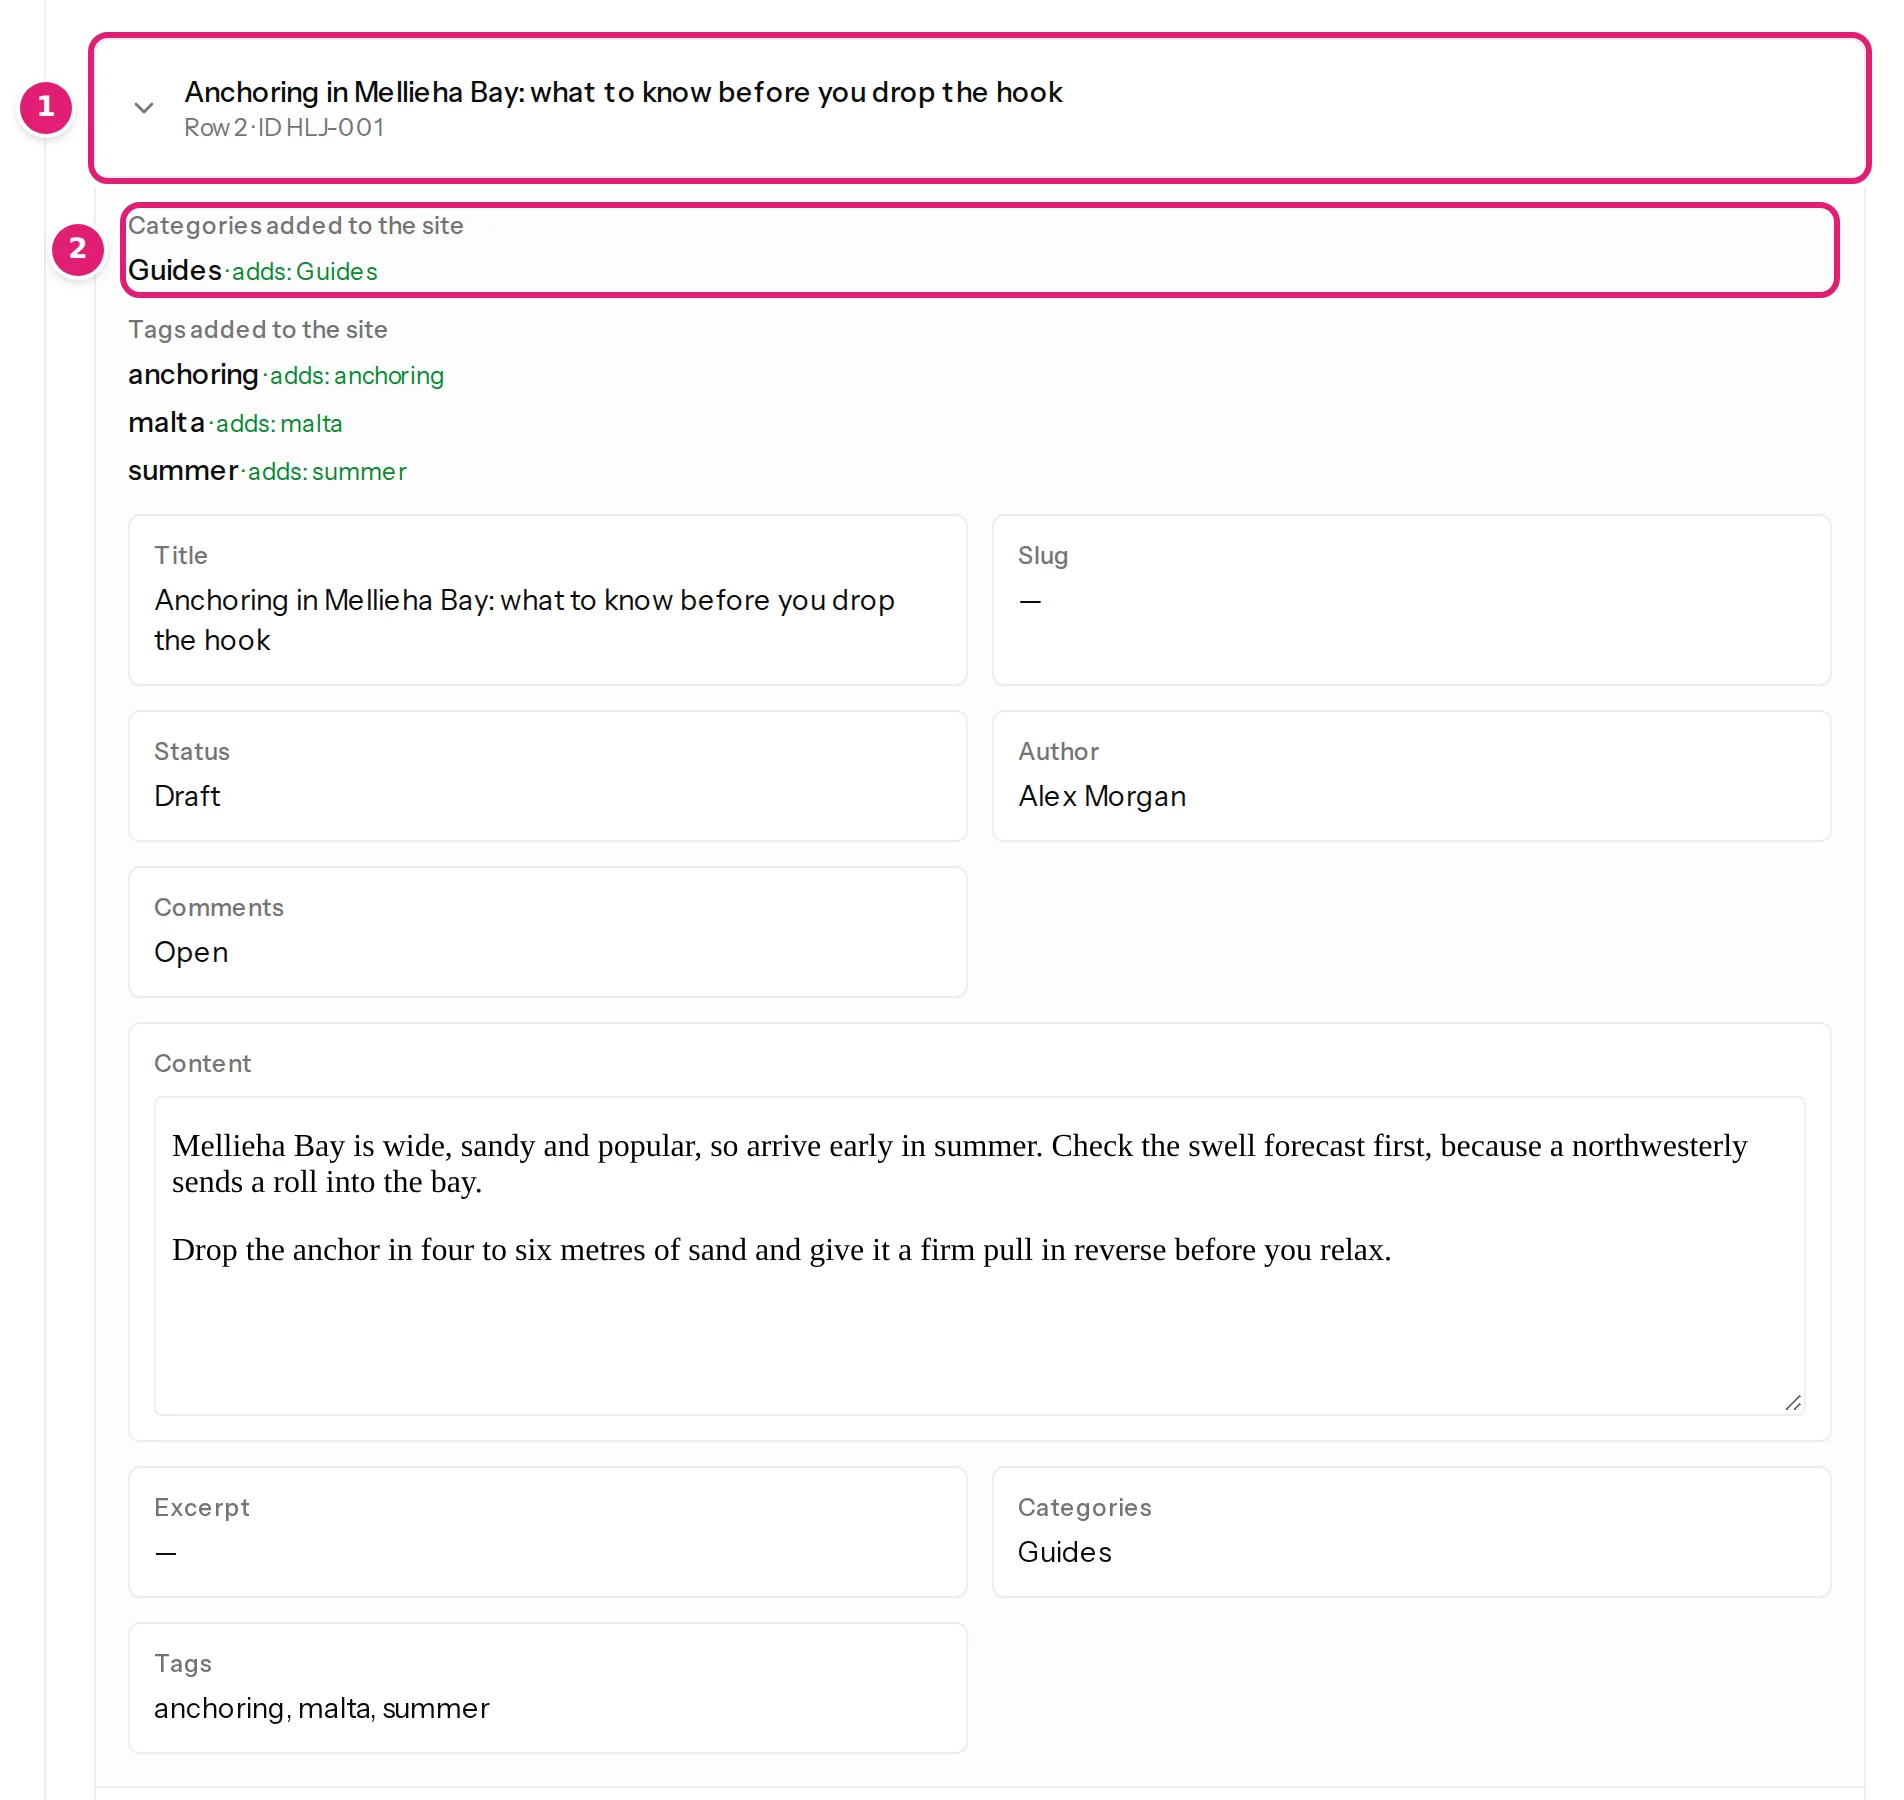
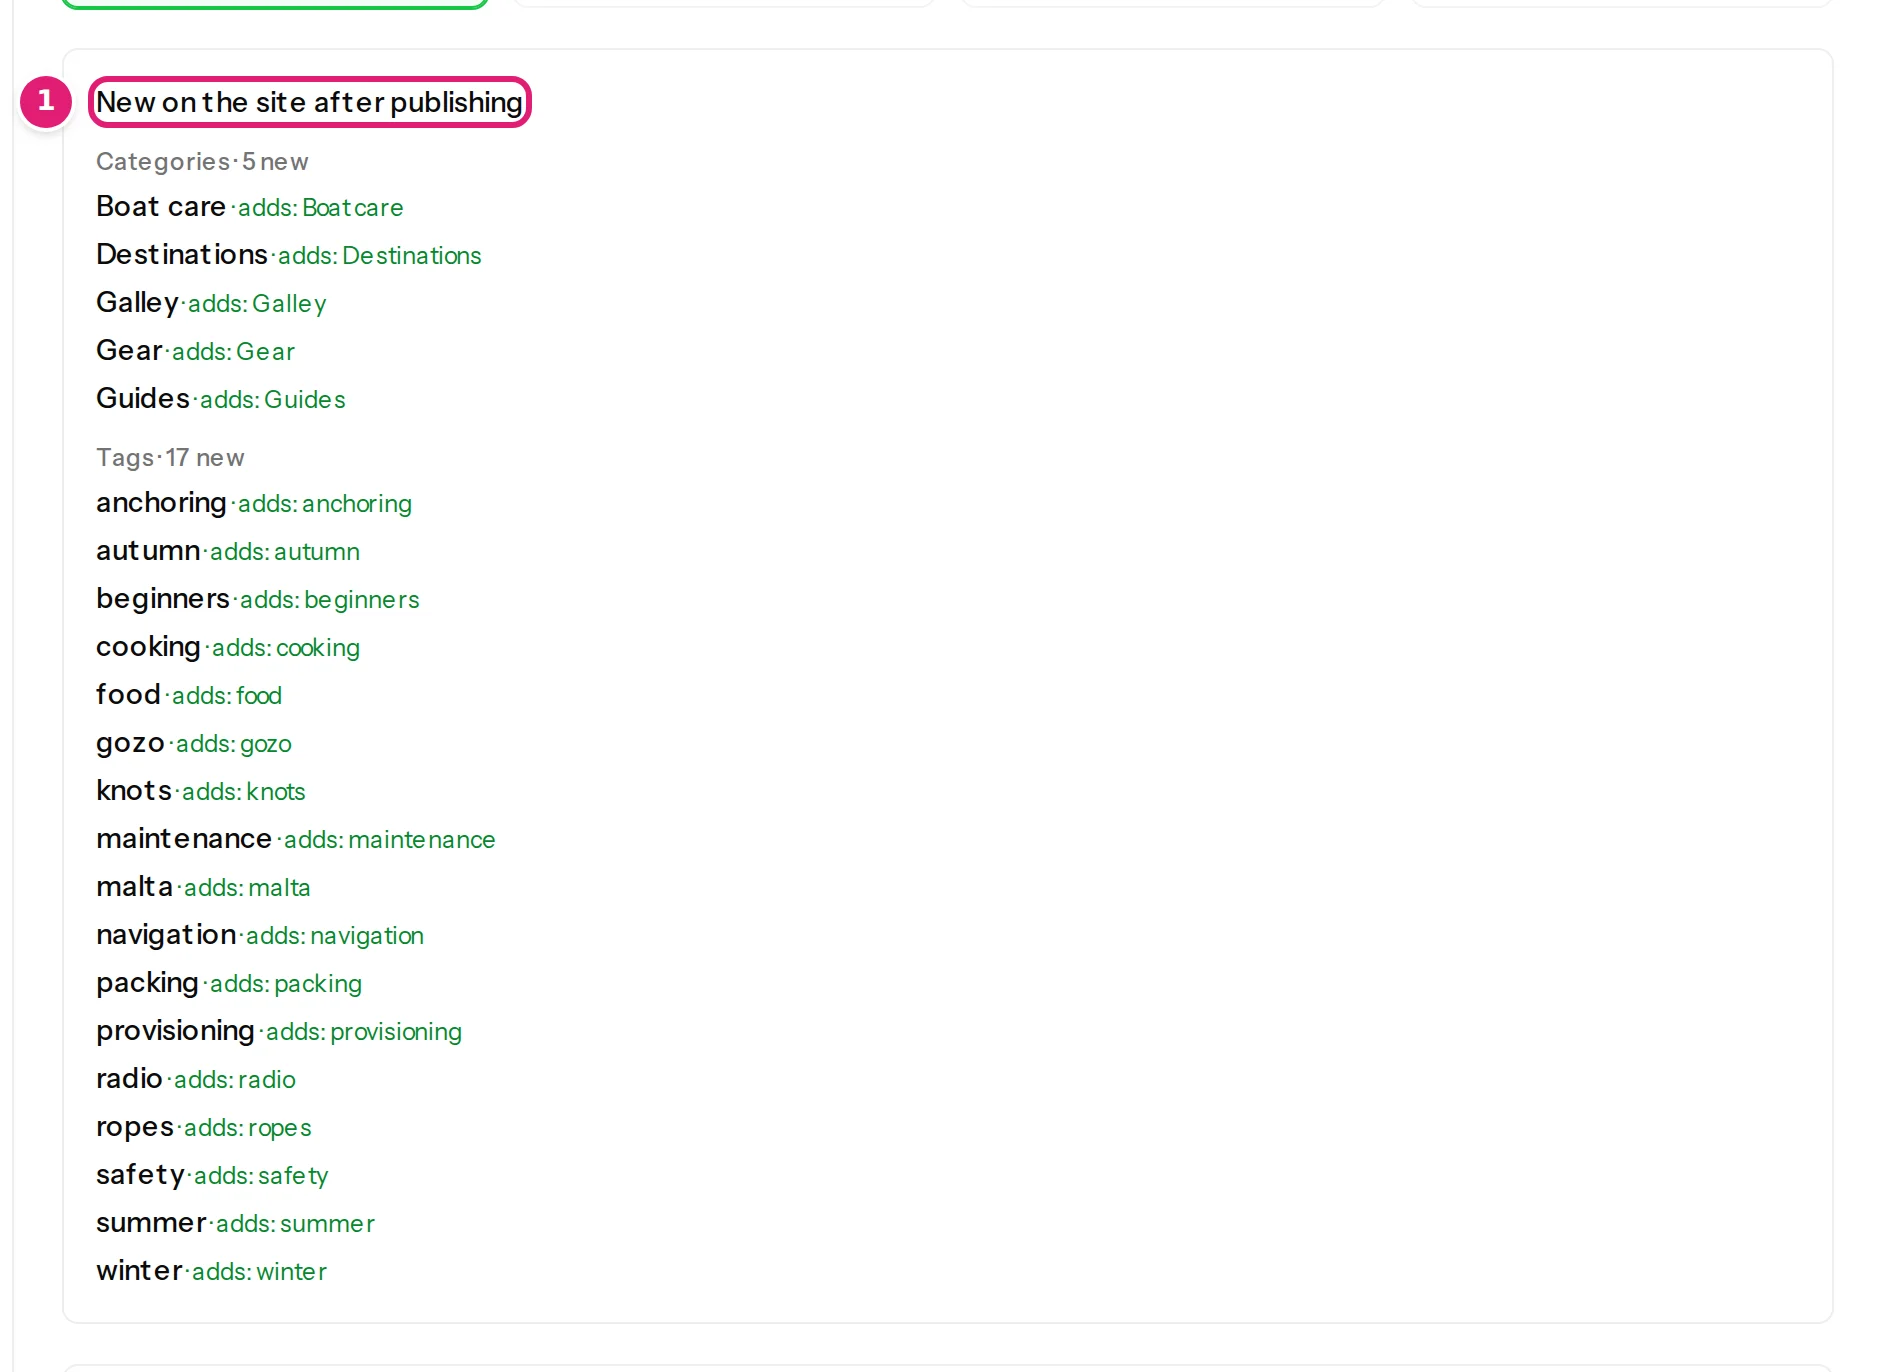
Because the categories and tags do not exist on your site yet, the page lists them under New on the site after publishing, so there are no surprises:
5. Publish#
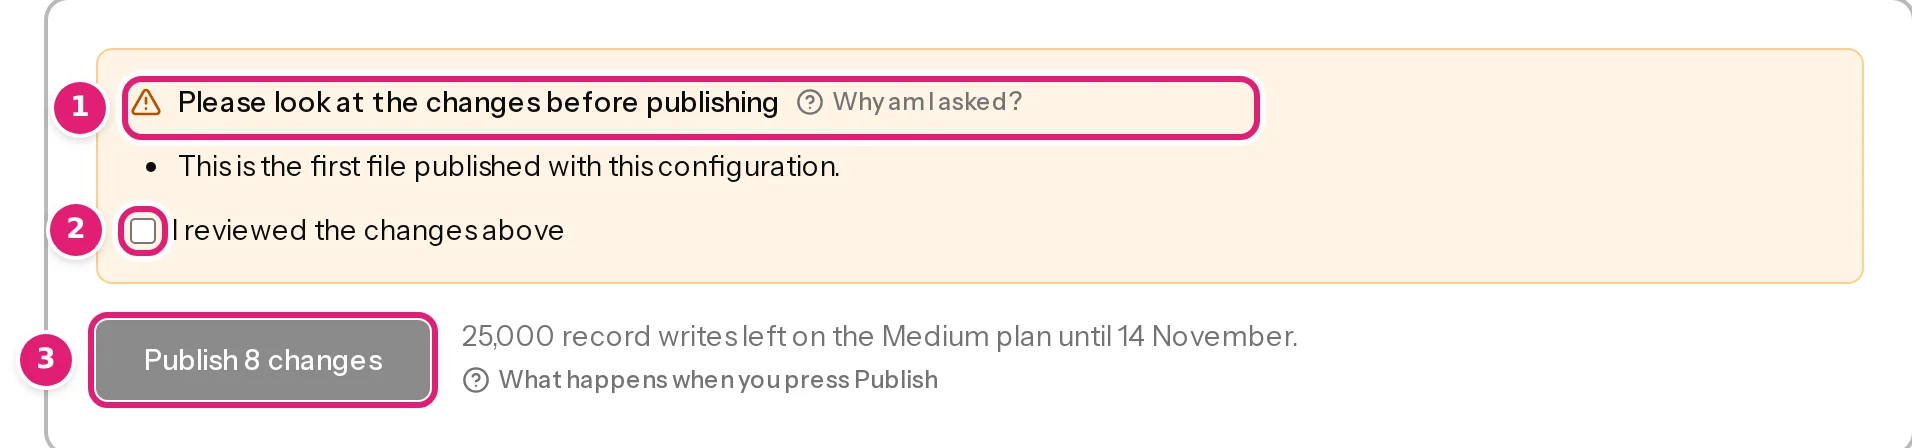
For the first file of a configuration, the page asks you to look once more: This is the first file published with this configuration. Tick I reviewed the changes above, then select Publish 8 changes. Below the button, the page says how much of your plan's allowance this uses (25,000 record writes left on the Medium plan until 12 November.).
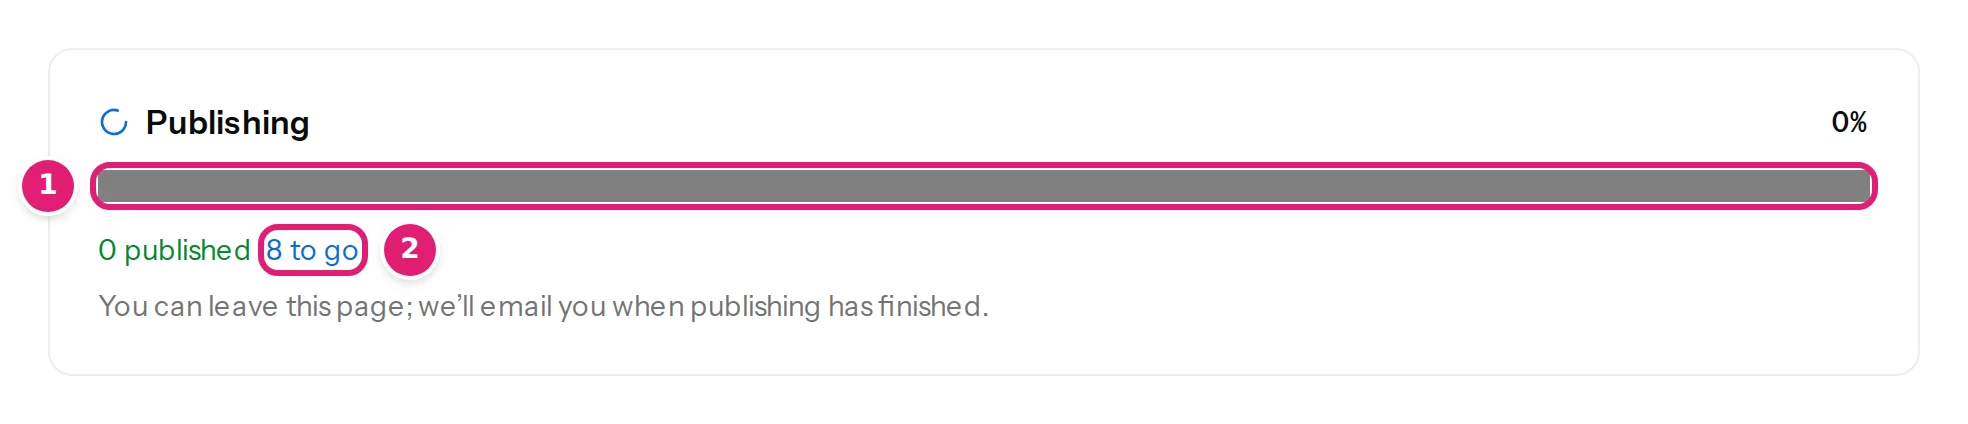
Publishing runs in the background. A progress bar shows how many items are done, and you can leave the page: you are emailed when it has finished.
When it is done the page says Published with the number of items, and the run is marked Done.

6. Check your site#
Open your site's administration. The eight items are there with the title, body, category and tags from your spreadsheet. With the fixed Draft or Unpublished status they are not visible to visitors yet: review them and publish when you are ready, or change the configuration's Status to Published for the next file.
The Sites page keeps one result per item with its ID on the site and its attempt history (publishing results).
What next?#
- Next week: drop the new file on the same card. Items that did not change are shown as unchanged and cost nothing: updating existing content.
- Images: add a column with image file names and a ZIP, or web addresses: where images come from.
- Something looks wrong? Troubleshooting lists the messages you may see and what to do.
Was this article helpful?
Related articles
- Importing dataCreate a configurationA configuration remembers a destination, a record ID column and how each column maps to fields: how to create one, what the editor's parts do and how versions work.
- Reviewing and publishingHow the review worksAfter a file is checked, the review shows what will be created, updated, left alone or skipped before anything is sent to your site. How to read each part of the page.
- Getting startedQuick start in six stepsThe shortest path through Content Uploader: create an account, connect your WordPress or Joomla site, prepare a spreadsheet, configure, review and publish, in fifteen minutes.
- TutorialsUpdate existing content from next week's spreadsheetUpload a second version of the same spreadsheet and watch Content Uploader publish only what changed: two new articles, three updated, five left alone, with no duplicates.